How to screenshot a selected area of a web page
Not every screenshot is the whole page. Most of the time you want one panel, one table, one error message — and everything else in the frame is noise you will have to crop out later. Selecting first saves you that step.
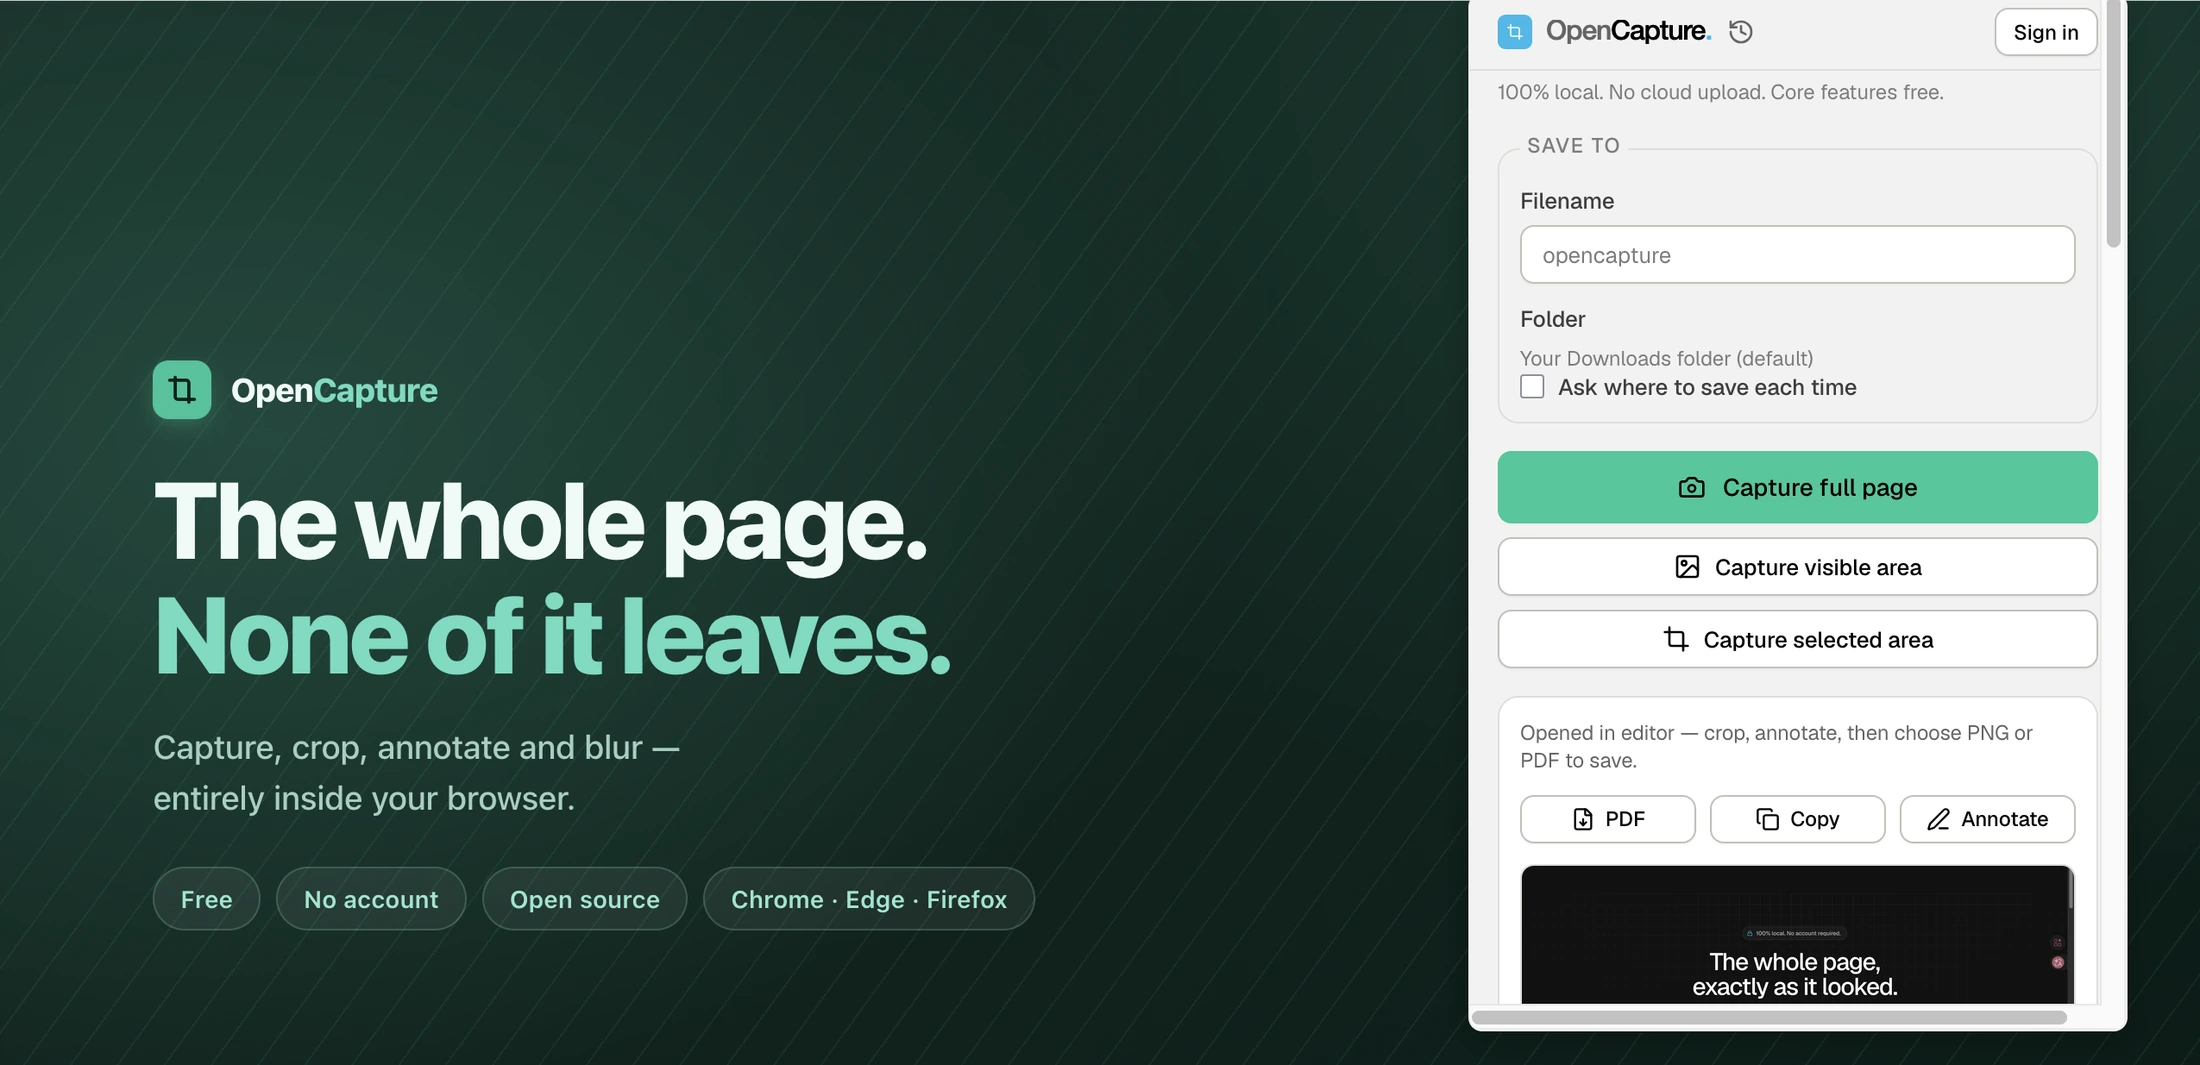
Three capture modes, and which one you want
- Full page — the entire scroll height stitched into one image. The right choice when someone else has to read the page, or when you are archiving it.
- Visible area — exactly what is on screen at that moment, at the size it is on screen. One click, nothing to aim at.
- Selected area — you drag a box, and only what is inside it is captured.
Selected area — drag a box over the part you need
- Open the page and click the OpenCapture icon in the toolbar.
- Choose selected area. The page dims and the pointer becomes a crosshair.
- Drag a box around the part you want. Only the rectangle stays lit.
- Release. The selection opens in the editor, where you can crop it further, draw on it, blur anything private, and export it as a PNG or a PDF.
Visible area — what is on screen right now
This is the one people reach for without thinking about it: whatever fits in the window, captured as it appears, with no scrolling and no stitching. Because nothing is stitched, none of the failure modes that affect long captures apply — no repeated sticky header, no seams, no canvas ceiling. If the thing you need already fits on screen, this is the fastest and the most reliable of the three.
Selecting first, or cropping afterwards
Both get you to the same image, and the editor can crop a full-page capture down to a corner of it. Three reasons to select first anyway:
- Long pages make enormous files. A capture of a page several thousand pixels tall is a large image before you have cropped a pixel off it, and past a certain height the browser cannot hold it on one canvas at all — the ceiling and what happens when you hit it are in how full-page screenshots work.
- It is faster. A full-page capture has to scroll the page, wait for each band to settle and stitch the result. A selection is one frame.
- Nothing you did not want is ever in the file. If the rest of the page has an email address, an account number or someone else’s name on it, not capturing it beats blurring it afterwards.
What the browsers do on their own
All three desktop browsers can select a region without an extension, with varying amounts of digging. Firefox puts it behind the right-click menu, as part of the same tool that does full page capture in Firefox. Edge has Capture area on its Web capture bar. Chrome has Capture area screenshot in the developer tools Command Menu and nothing in any visible menu — the three side by side are in scrolling screenshots on desktop.
What none of them do is hand the selection straight to an editor. You get a file, and then you open something else to crop, annotate or blur it.
Questions
Can I screenshot just part of a web page?
Yes. Drag a box over the region you want and only that rectangle is captured. In OpenCapture the mode is called selected area. Firefox and Edge each have their own version of it, and Chrome has one buried in the developer tools.
What is the difference between visible area and selected area?
Visible area captures the whole browser viewport — everything on screen at that moment — in one click. Selected area captures only the rectangle you drag, which can be smaller than the viewport but never taller than the page itself.
Can I still crop and blur a selected-area capture?
Yes. A selection opens in the same editor a full-page capture does, with crop, arrows, boxes, text, blur and unlimited undo, and it exports to PNG or PDF.